ESX Installation:
Install ESX to get started with running virtual machines. The machine running ESX virtualization software
will act as a host in your virtual infrastructure.
Hosts provide CPU and memory resources, access to storage, and network connectivity for virtual machines
that reside on them.
Prerequisites for Installing ESX:
Before you begin the installation procedure, ensure that the host meets the prerequisites.
The prerequisites are as follows:
If ESX will not use an NTP server, make sure that the server hardware clock is set to UTC. This setting is
in the system BIOS.
Make sure the host has a supported network adapter.
ESX Hardware Requirements
Using ESX requires specific hardware and system resources.
64-Bit Processor
VMware ESX 4.0 will only install and run on servers with 64-bit x86 CPUs.
Known 64-bit processors:
All AMD Opterons support 64 bit.
All Intel Xeon 3000/3200, 3100/3300, 5100/5300, 5200/5400, 7100/7300, and 7200/7400 support 64 bit.
All Intel Nehalem (no Xeon brand number assigned yet) support 64 bit.
RAM
2GB RAM minimum
Network Adapters
One or more network adapters. Supported network adapters include:
Broadcom NetXtreme 570x gigabit controllers
Intel PRO 1000 adapters
SCSI Adapter, Fiber Channel Adapter, or Internal RAID Controller
One or more of the following controllers (any combination can be used):
Basic SCSI controllers are Adaptec Ultra-160 and Ultra-320, LSI Logic Fusion-MPT, and most NCR/
Symbios SCSI controllers.
Fiber Channel, see the Hardware Compatibility Guide at
http://www.vmware.com/resources/compatibility.
RAID adapters supported are HP Smart
**Note:Make sure Intel VT is enabled in the host's BIOS.
1 - Insert the media and launch Install ESX in graphical

2-The install launcher start...

3- Click on NEXT

4-Accept the license and click NEXT

5-Select you preferred language and click NEXT

6-Select if you want install or not drivers...and click NEXT

7-The loading driver start...
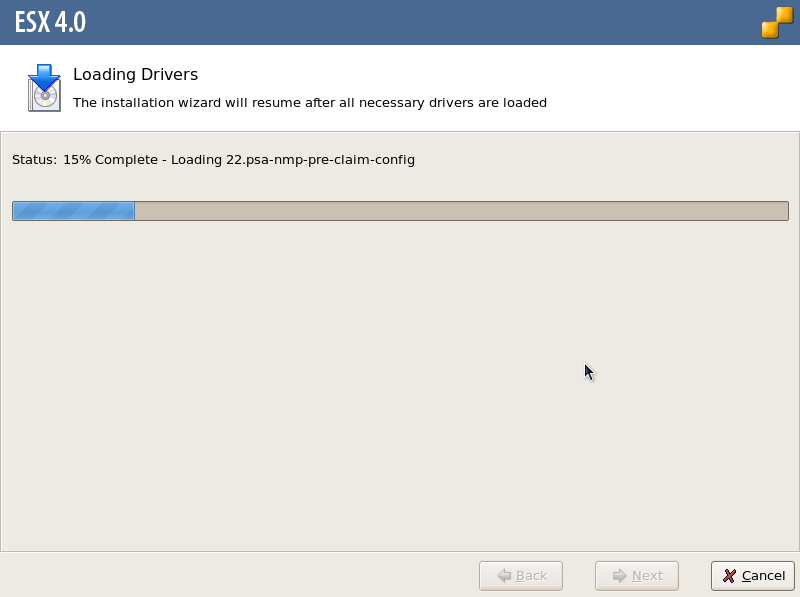
8-The loading driver is finish, you can click on NEXT

9-Enter Serial or not and click on NEXT

10-Select your network adapter and click NEXT

11-enter a IP configuration
Example:
IP: 192.168.0.1
Mask: 255.255.255.0
Gateway: 192.168.0.1 or another IP if you want
DNS: 192.168.0.1
Hostname: ESXSERVER
After Click NEXT

12-In a first time select Standard Setup and click NEXT

13-Select the Storage (Here the storage is just present for install binaries ESX Server, after you can add another volume NAS or others) and click NEXT

14-Select your time zone and click on NEXT

15-Select Time and date and click NEXT

16-The install process start...

17-After the installation finishes click on NEXT

18-Yeah the install is complete, now you can access at your esx server at the IP that you enter in the previous step.

19-In my example, i'm connect with the Vsphere Client for access to the ESX server.
I need to use the Windows XP mode for launch the Vsphere Client

20-Cool the installation is finish but now the ESX configuration is necessary...If you want start the challenge, all at your server and computer and GO to the VMWARE WORLD

Root # vi /etc/ssh/sshd.config
Go to 39 line
Permit root login Yes
22-#/etc/init.d/sshd restart
23-In windows we will call as service, in Linux we will call as demean.
Next Blog: Installing and configuring vi client
No comments:
Post a Comment